|
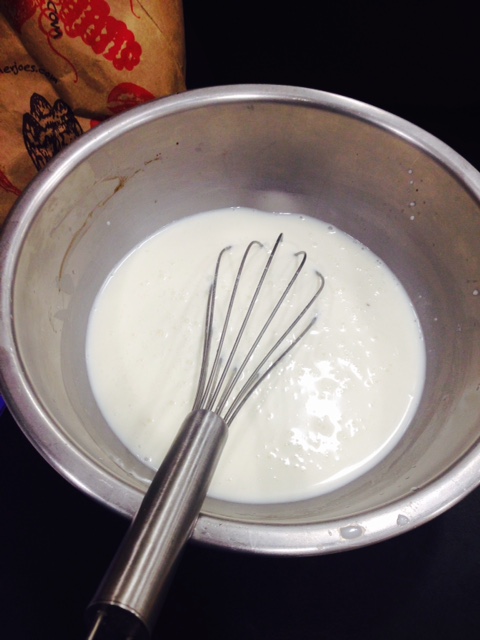
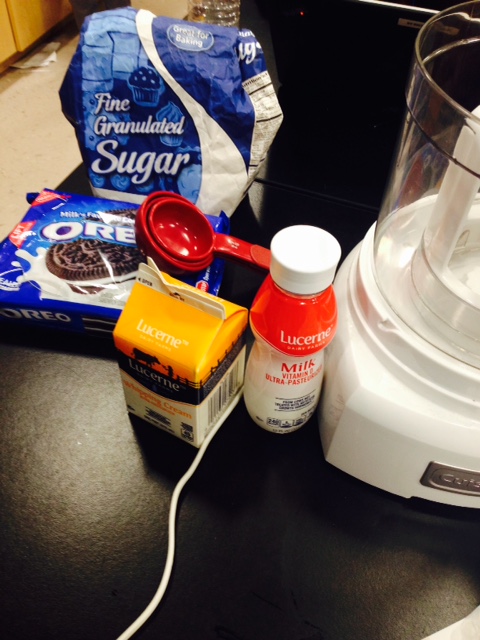
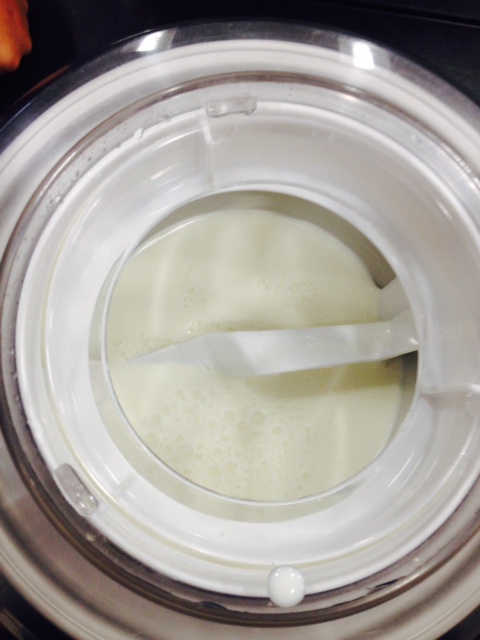
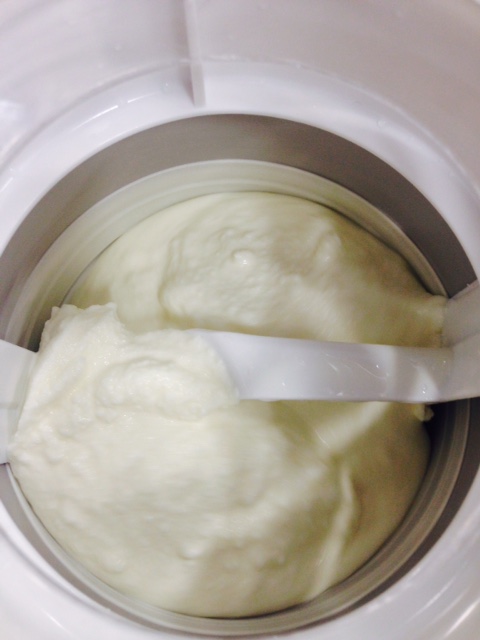
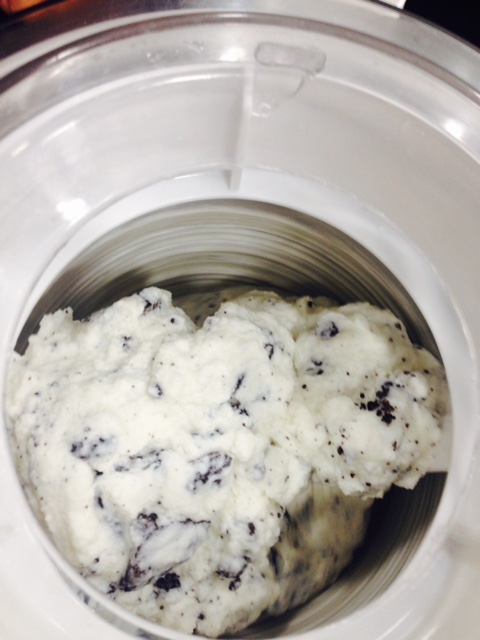
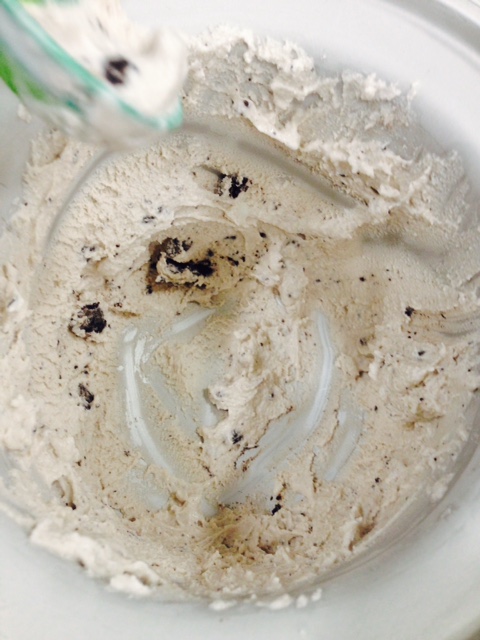
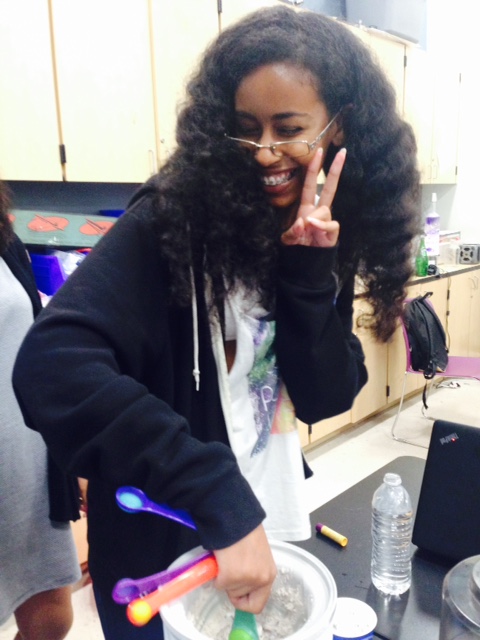
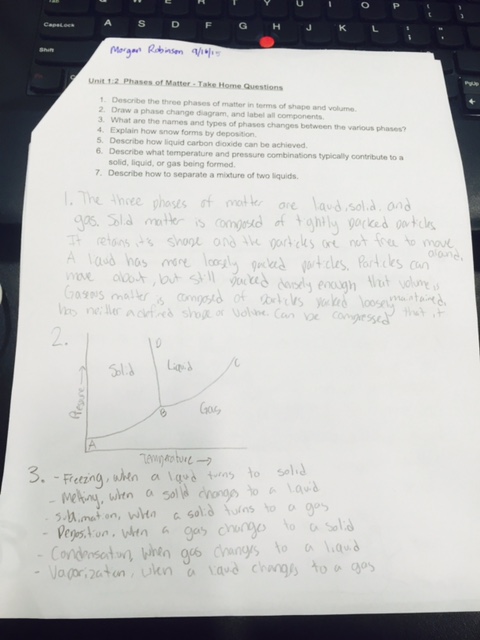
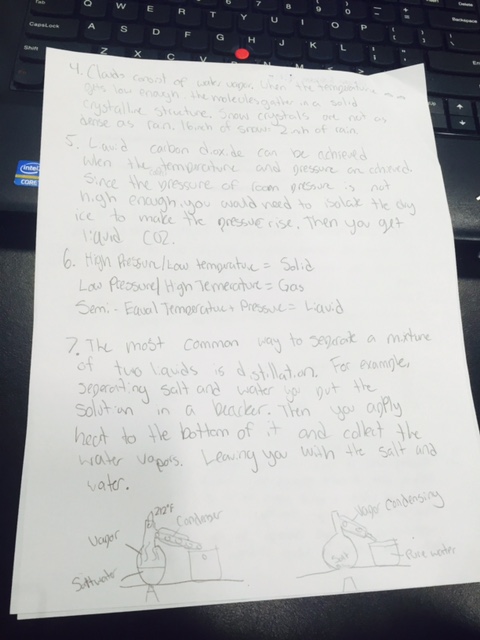
During this lab we made Ice Cream! Our essential question was, What are the phase changes when making Ice Cream? and How can I make Ice Cream? Overall, this experiment was a success. We followed instructions and made some very good natural ice cream. We used an ice cream maker to make it. The reason that the ice cream maker was so helpful is because it turns the cream, milk, and sugar, freezing it, while infusing it with very small air bubbles. That is what gives the ice cream such a unique texture. When we finished making the ice cream we got some great feedback on how good it tasted. I think that I performed fairly good during this experiment. The only thing that we as a group struggled with is bringing in our supplies. Since none of us could go to to the store to get the ingredients, we had to walk to Von's during school hours so that took some of our work time. In the end we still had time to finish the experiment. Next time, we will make sure that doesn't happen. I worked with Lydia and Savreen for this lab. Since I haven't worked with either of them on any projects yet it was a new experiment. They were great to work with and I think we all collaborated well, taking turns on things and staying on task. If I could redo this experiment, I would make sure I had all the ingredients before school, also I would try to contribute a little more when bringing in supplies. If I went further into the experiment, I would try new flavors that are a little more complicated. I would also try making it in a bag, and see how different in turns out in taste and texture compared to the ice cream maker. Some skills that I learned is obviously, how to make ice cream. Also, how making something and different way can change the way it tastes as well as the texture. Monday 9/21 - Create plan and plan for labs
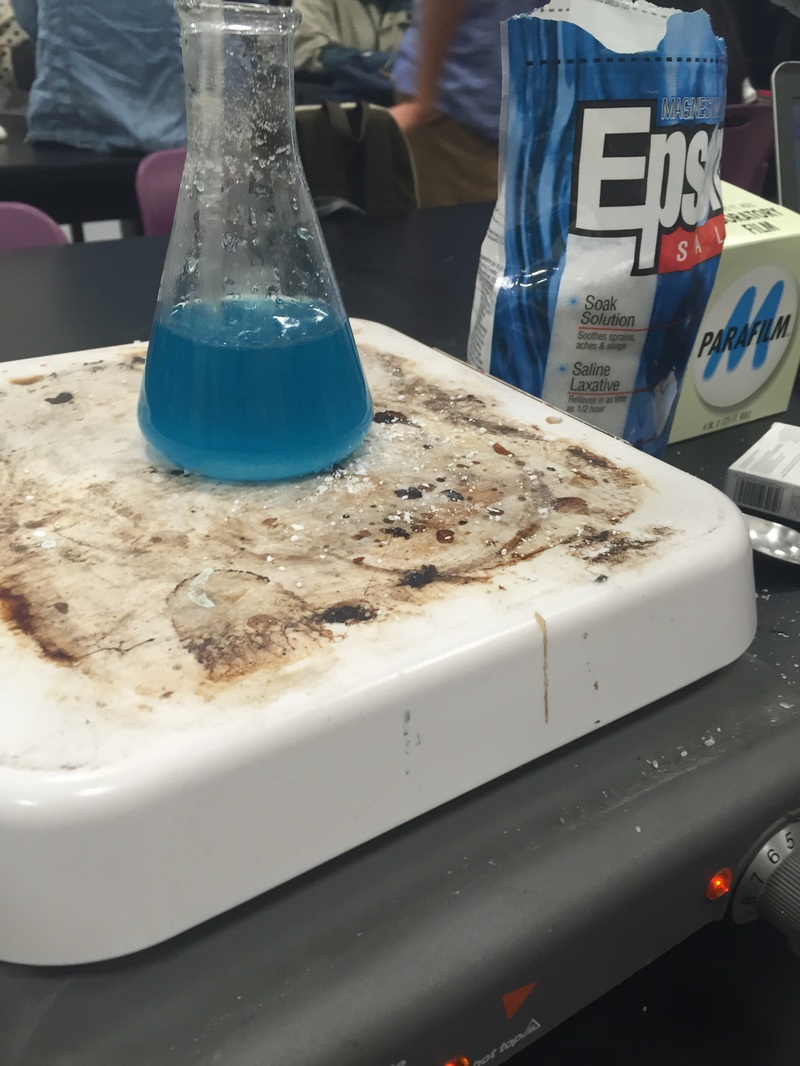
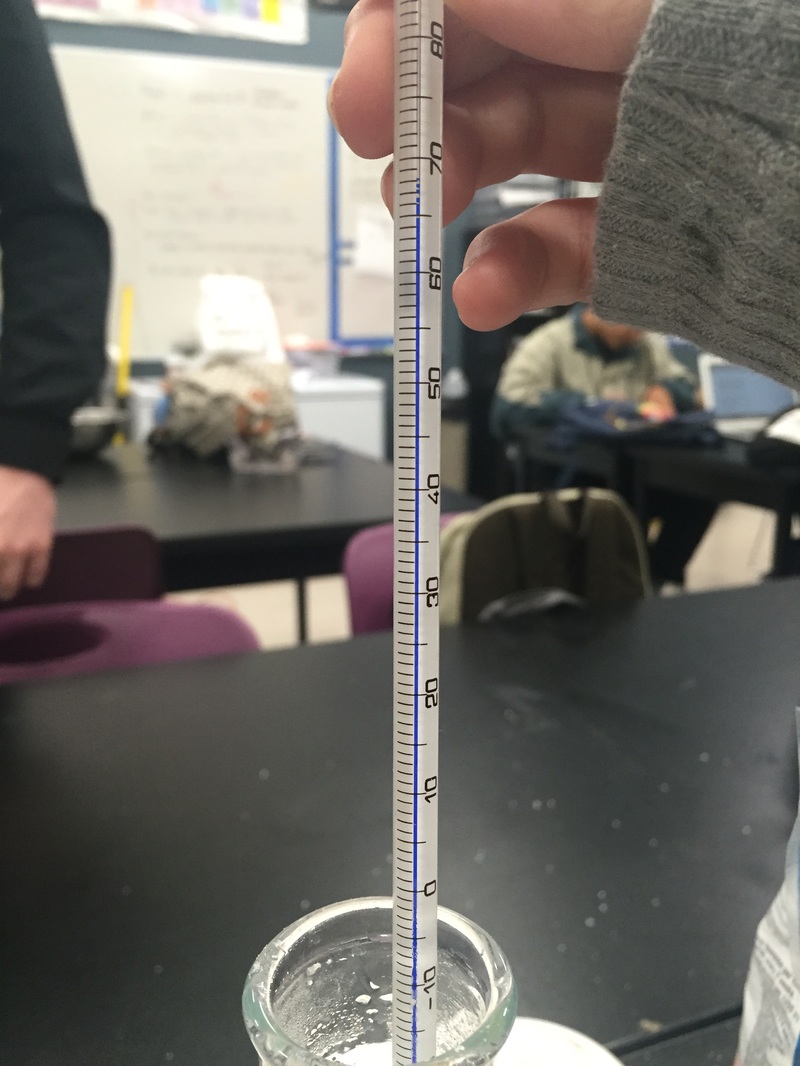
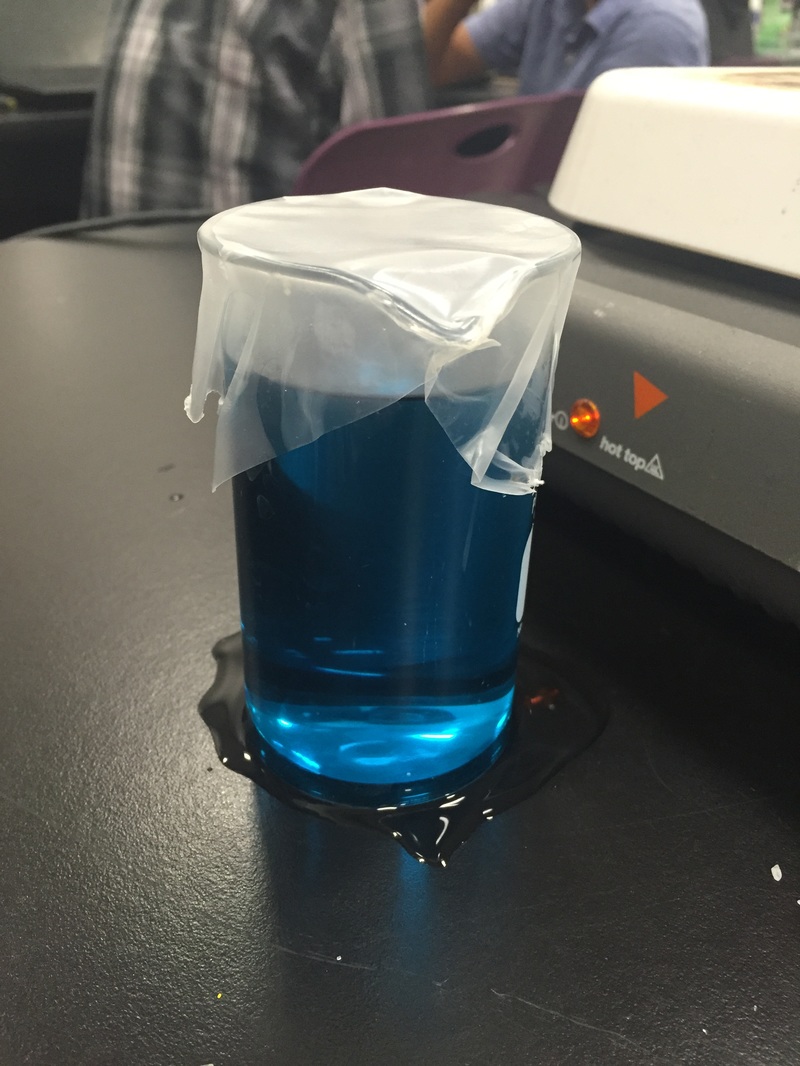
Tuesday 9/22 - Balboa Park Field Trip Wednesday 9/23 - Prep for Ice Cream and do one worksheet Thursday 9/24 - Do the Ice Cream Lab Friday 9/25 - Blog Ice Cream Lab and Worksheet Monday 9/28 - Staff Day (No School) Tuesday 9/29 - Do a Worksheet and prep for Magic Sand lab Wednesday 9/30 - Do magic sand lab and start to blog it Thursday 10/1 - Finish blogging Magic sand lab Friday 10/2 - Community Day (Belmont Park) During this lab we made crystals using epsom salt and water. We mixed the salt into the water in a beaker while it was on a hot plate. When the solution is warmed up the salt dissolves quicker. I think as the water heats up the salt gets dissolved into the water. Then as the solution cools down the molecules are rearranged to form crystals. So the salt is taking a new shape. At the end of this lab, it worked. But it did take us two tries. A day after we did the experiment, we looked at our solution and there were no crystals. We came to the conclusion that there was not enough salt in the water for it to crystalize. So the next day, we put the beaker with the crystal solution back onto the hot plate. Once it warmed up we dumped some of the solution into the drain and added more salt. We added about half as the much of the epsom salt into the solution. After the solution was completely dissolved we left it on the heat for a few minutes to let some of the water evaporate. Then, we put it back into the fumehood,(after labelling it) and let the solution sit overnight. When we came back the next morning we saw that our beaker was filled with epsom salt crystals. Our experiment turned out to be a success. The crystals appeared to be very small and thin. At the bottom of the beaker they were a whiter color and a different shape than the ones on top. Some of the crystals were dyed blue from the blue dye, but the crystals on the bottom were. Materials used: -2 different beakers -Water -Epsom Salt -Blue food coloring dye -Hot Plate -Thermometer -Parafilm -Spoon -Glass Stir-rod During this lab I worked with Genevie. Overall, I thought we worked well together. We demonstrate safe practice and did not do anything that was dangerous. We stayed on task the whole and took turns when doing different things. If I could re-do this lab I would better measure out how much water and salt I put in the solution. The first time there was not enough salt and we added more salt the second time. We should have done a bit more research on exactly the ration from salt to water we needed, as well as recorded how much we used. Here is my plan for the next two weeks:
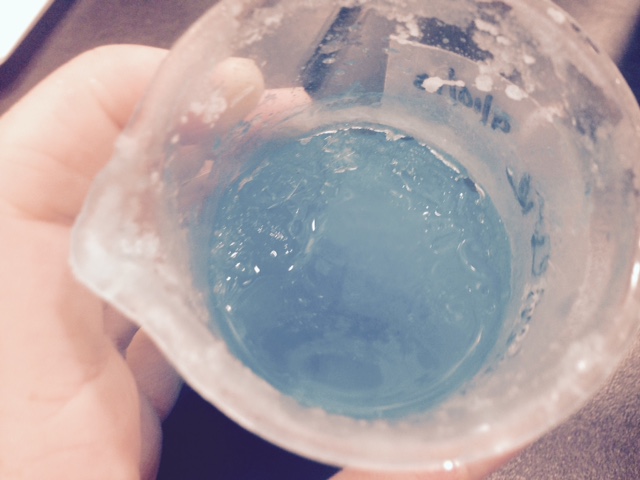
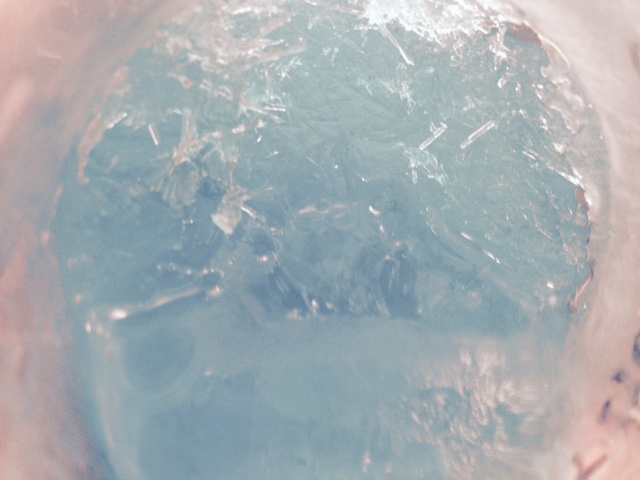
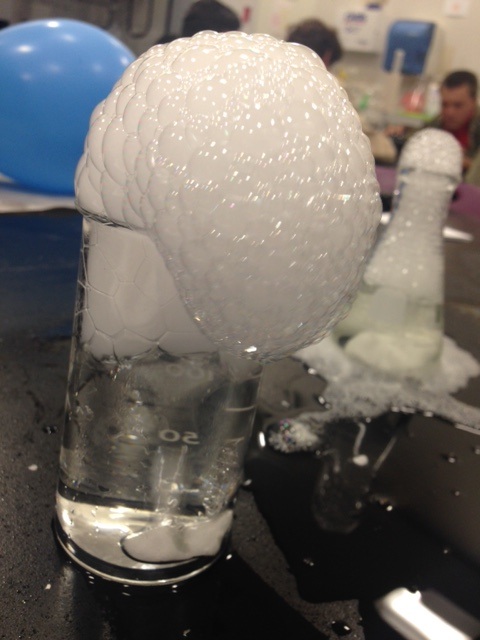
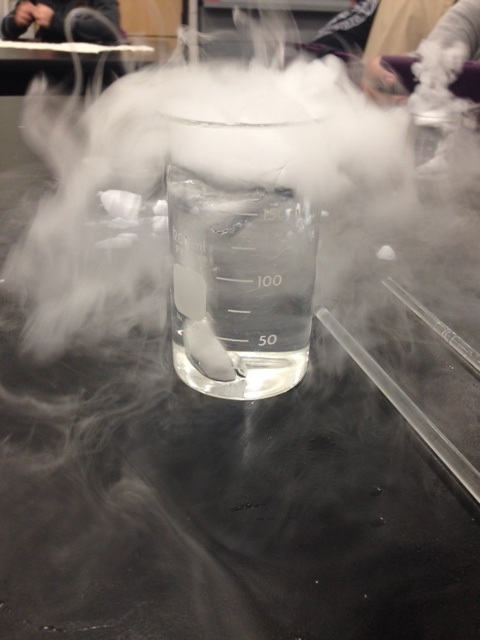
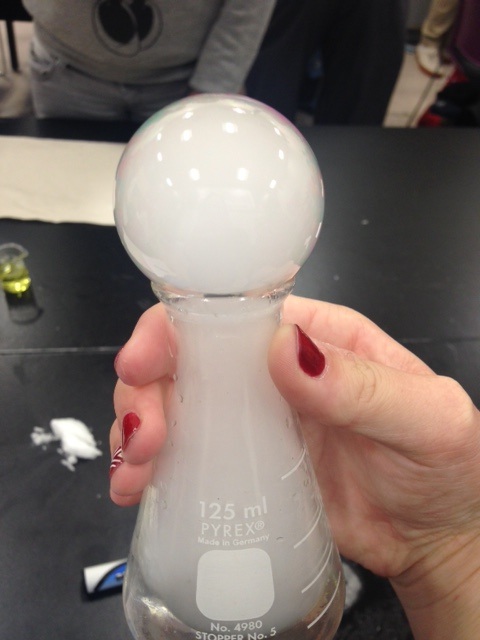
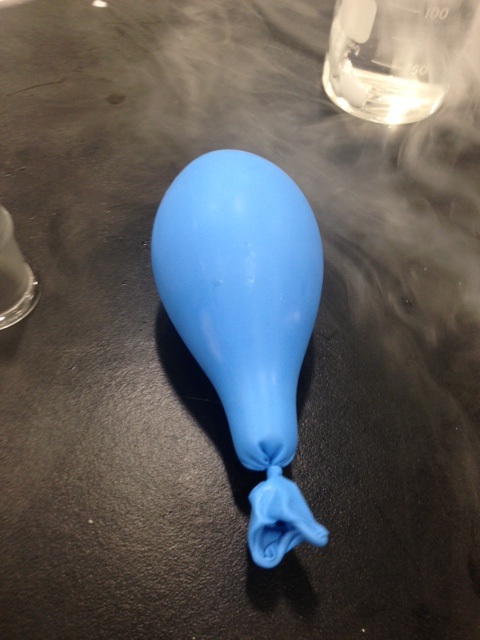
Week 1: 9/4 Friday - Work on blog and worksheets 9/7 Monday - No school 9/8 Tuesday - Crystallization Lab 9/9 Wednesday - Crystallization Lab 9/10 Thursday - Update Blog 9/11 - Make Ice Cream Week 2: 9/14 Monday - Prep for Making Candles Lab 9/15 Tuesday - Make Candles 9/16 Wednesday - Make Candles 9/17 Thursday - Finish up Candles, Update Blog, work on worksheets 9/18 Friday - Finish any work and Finish blog This was the second lab we did in our exploration of the different phases of matter. We different experiments using dry ice to compare solids and gases. Before starting this lab we took some notes and Andrew showed us a small experiment by turning the dry ice (solid Co2 into liquid) To do that we needed to raise the pressure. He put the dry ice into a small enclosed tube where the pressure built up. There was a meter on one end to measure the pressure or psi. After about a minutes the pressure built up to about 80 psi and we saw inside the tube; liquid c02. Then Andrew opened the valve and the c02 came shooting out of one end. After doing this, our table groups all got some pieces of dry ice. I worked with Genevie, Jennifer, and Nancy when doing this lab. First we got a small glass cup and put room temperature water into it. Then we dropped some of the ice in it. Immediately we got a reaction. The ice was turning into a gas and bubbles filled with it started to come up. (Bottom left picture) Since this was our prediction, I would say that this part was a success. Then we started to use bubble soap with the gas. We first started blowing bubbles onto the glass that the try ice was. Our result was that the bubble started to grow as with gas filled into it.(Top right picture) We then wanted to what would happen if we put some bubble soap into the water itself. After that, we got a strange reaction where the gas that was coming up was filled within the tiny bubbles that the soap came up in. (Top left picture) Andrew also suggested to try something else. To measure a piece of the dry ice and put it into and ballon. We measured out a solid piece of Co2 with the diameter of 5cm. We put into the balloon and after the co2 went entirely into a gases form we measure the diameter of the balloon to be 22cm. Then we used this equation to find the ratio of solid to gas. 4/3 x 3.14 x r^3 Here is the volume for the solid co2: 4/3 x 3.14 x (2.5, 2.5, 2.5) = 65.416 Here is the volume for the balloon: 4/3 x 3.14 x (11, 11, 11) = 5, 572 So the ratio from solid to gas for dry ice is 65.416:5,572 At the end of this lab, I learned how matter changes from solid to liquid to gas from things like pressure and temperature. I think this knowledge will help me in the future when doing different labs and actually having accurate knowledge on the subject.
This was the first lab we did this year. It was to get us used to the lab and working with different chemicals and learning how to use them. This lab wasn't dangerous in any way, but was still engaging and left us all with questions. At the beginning of this lab we took some notes during a small lecture about the phases of matter and how it worked. Also the directions for the lab we are about to do. The purpose of this lab was to better understand what a liquid and a solid are and the different phases of matter. We worked in table groups and during this lab we mixed cornstarch and water at the ratio of 3:1 to make Oobleck. When cornstarch is mixed with water it turns into a substance that seems like a liquid and solid at the same time. When you pick the Oobleck up or put pressure on it is harder and seems like a solid, but as soon as you let go it turns drippy and runny again, back into a liquid. I experimented a few times trying different amounts of pressure and I found out that when you put too much pressure it turns crumbly and falls into little pieces. My group and I deicided to dump it out onto the table and see how it would work on there. I spend itself out to about 1/2 centimeters thick and stopped growing, almost like it was a solid again. After doing all these different experiments with the Oobleck it lead me to believe that Oobleck is both a solid and a liquid. I found out that when you apply more pressure to the Oobleck it turns into a solid. When there is not as much pressure the Oobleck is a liquid. I think this happens because when pressure is applied the molecules are compressed together making a solid. And when there is not as much pressure the molecules can slide past each-other making it a liquid. Overall, I learned that things like Oobleck can be both a liquid and solid and how different things can affect how something is a solid or a liquid or even a gas. 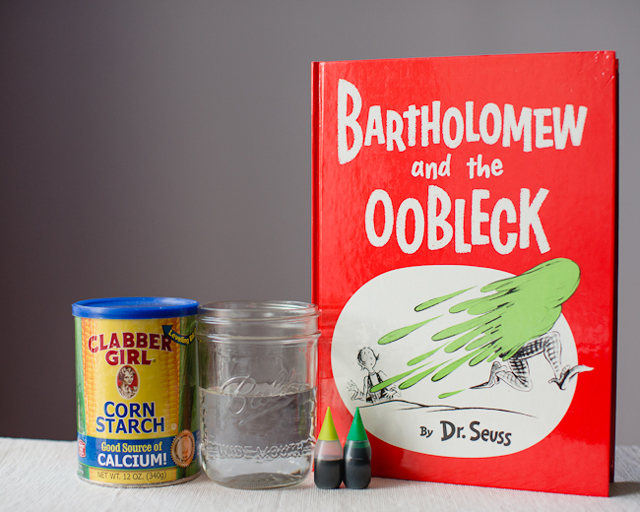 |
MorganHi. I am a sophomore at High Tech High in San Diego,CA. This is my chemistry blog that I will be posting on for my first semester. Enjoy! Archives
December 2015
|

 RSS Feed
